Pinehole Video
1 2021-03-15T03:46:53+00:00 Trinity Hall 38ab8cadbc44831feb4851012e3645fb837e6800 83 1 Process of creating a pinhole camera plain 2021-03-15T03:46:53+00:00 Trinity Hall 38ab8cadbc44831feb4851012e3645fb837e6800This page is referenced by:
-
1
media/IMG_6283 2.jpg
2021-02-15T23:00:46+00:00
Pinhole Camera
12
By Trinity Hall
plain
2021-03-15T17:47:52+00:00
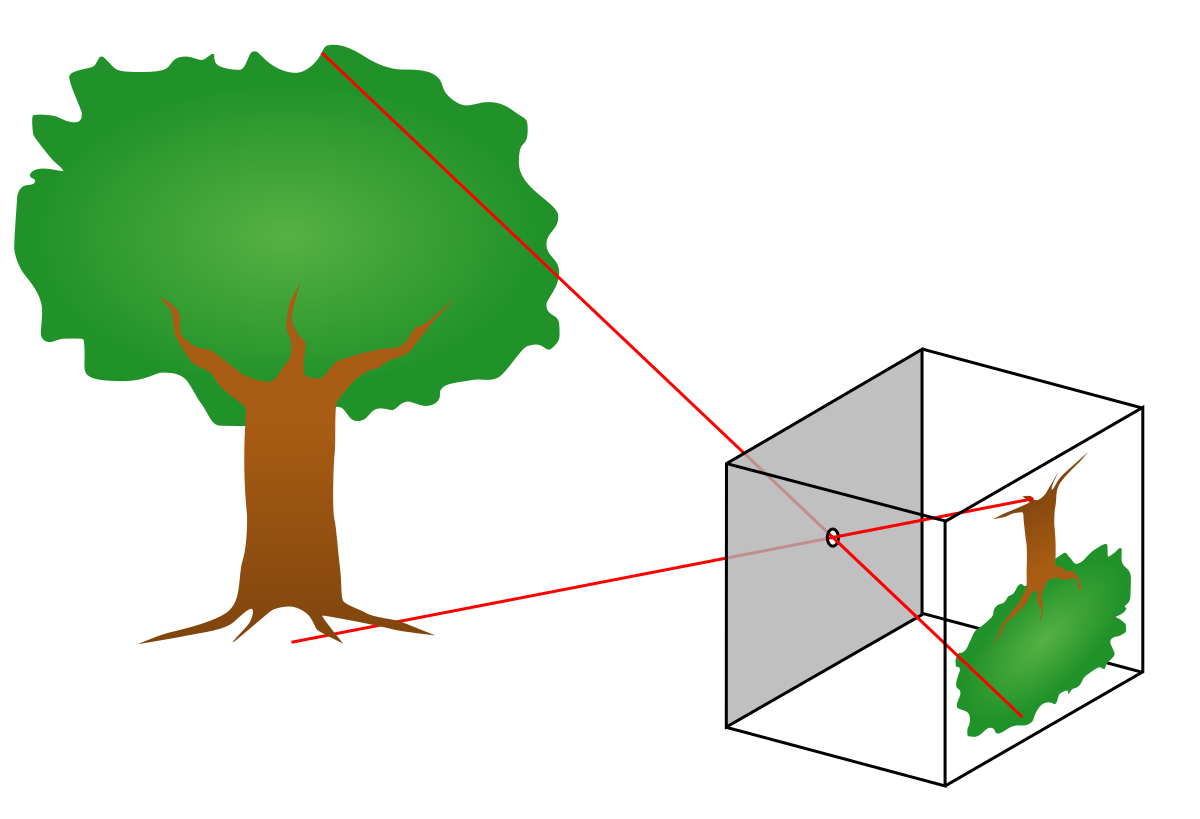
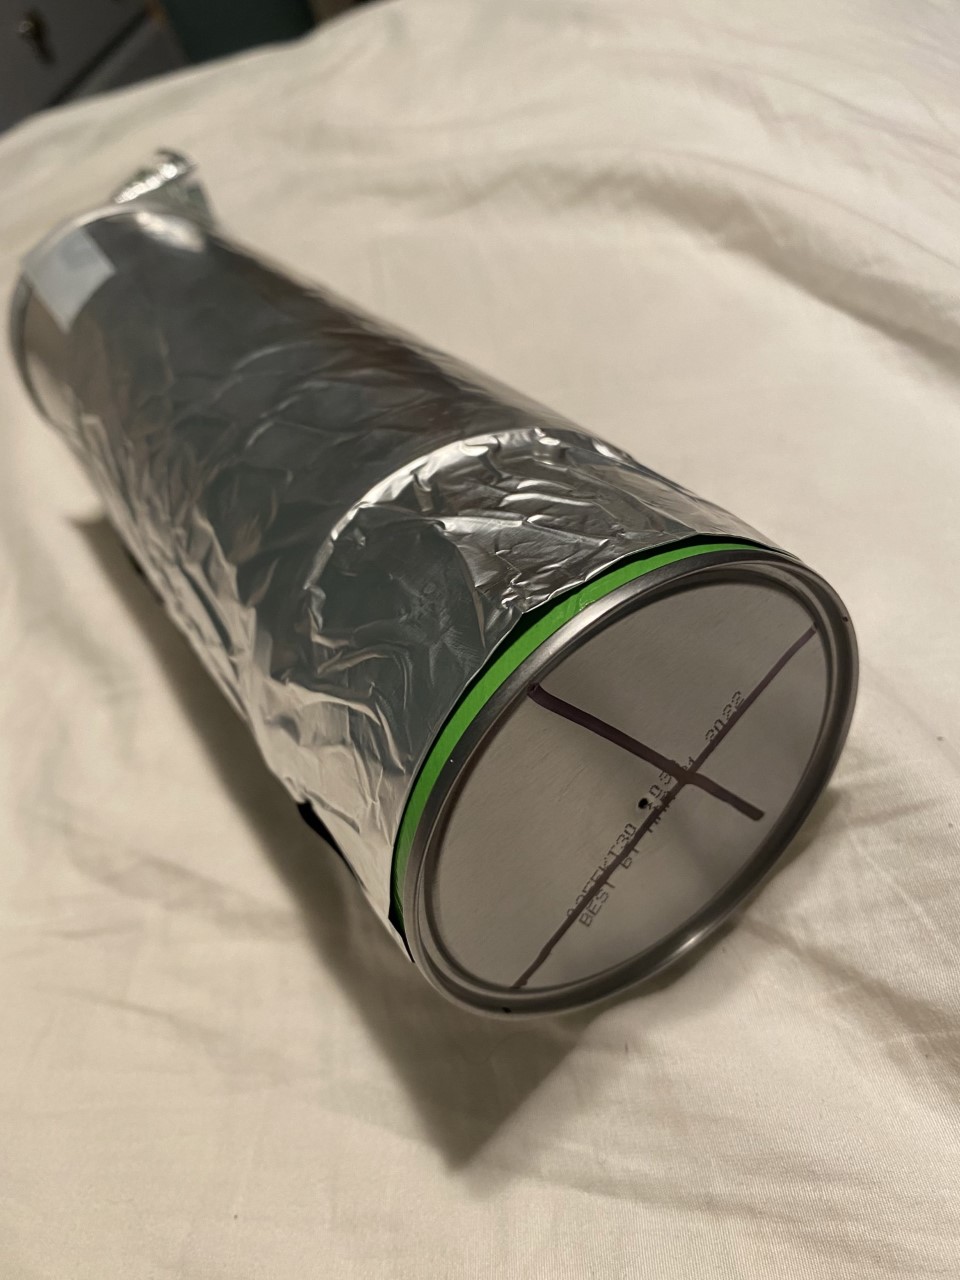
For this assignment, I decided to create my own pinhole camera. A pinhole camera is a camera without a lens but with a pinhole. The light goes through the pinhole and inverts the image you are looking at and projects it onto the transparent screen. When using the Pringles lid as I did, it projected onto the lid that I had with wax paper on it to create a screen for the image to be projected onto. The camera was fairly easy to construct once you had all of the materials. Here is a little breakdown of all the steps I went through in order to construct my pinhole camera. The main material that you needed was a Pringles can which acted as your vessel, as well as tape, and aluminum foil, just to name some of the more important materials. You had to cut the can into two pieces with the shorter piece about two inches. In between the two pieces you put the lid as a form of a divider between the two pieces of the Pringles can. Since I had a clear Pringles can, I had to put a piece of wax paper to form a transparent screen. Once all of the pieces were assembled, I tapped all of my pieces together with electrical tape. I used electrical tape instead of masking tape to help ensure that no light would be coming through the taped areas. After the cans were taped together, I taped aluminum foil around the vessel, which was also to make sure that the vessel was dark enough, and that light would not get in. Here is a video of the basic steps I went through, so you can see what I am describing to you.
Based on my experience, this was a fun and easy project to complete. However, I did come across a few problems while constructing this pinhole camera. The first problem that I encountered was the transparent screen that I needed to apply to the lid. I struggled with sizing the wax paper to the correct size to fit into the lid. I originally outlined the lid itself to get a rough estimate, then I kept trimming the circle down until the wax paper fit into the lid. The next problem I faced was getting the wax paper to stay in the lid, I solved that by gluing the wax paper to the lid. After those two hurdles were solved, it was smooth sailing in finishing the pinhole camera from there.
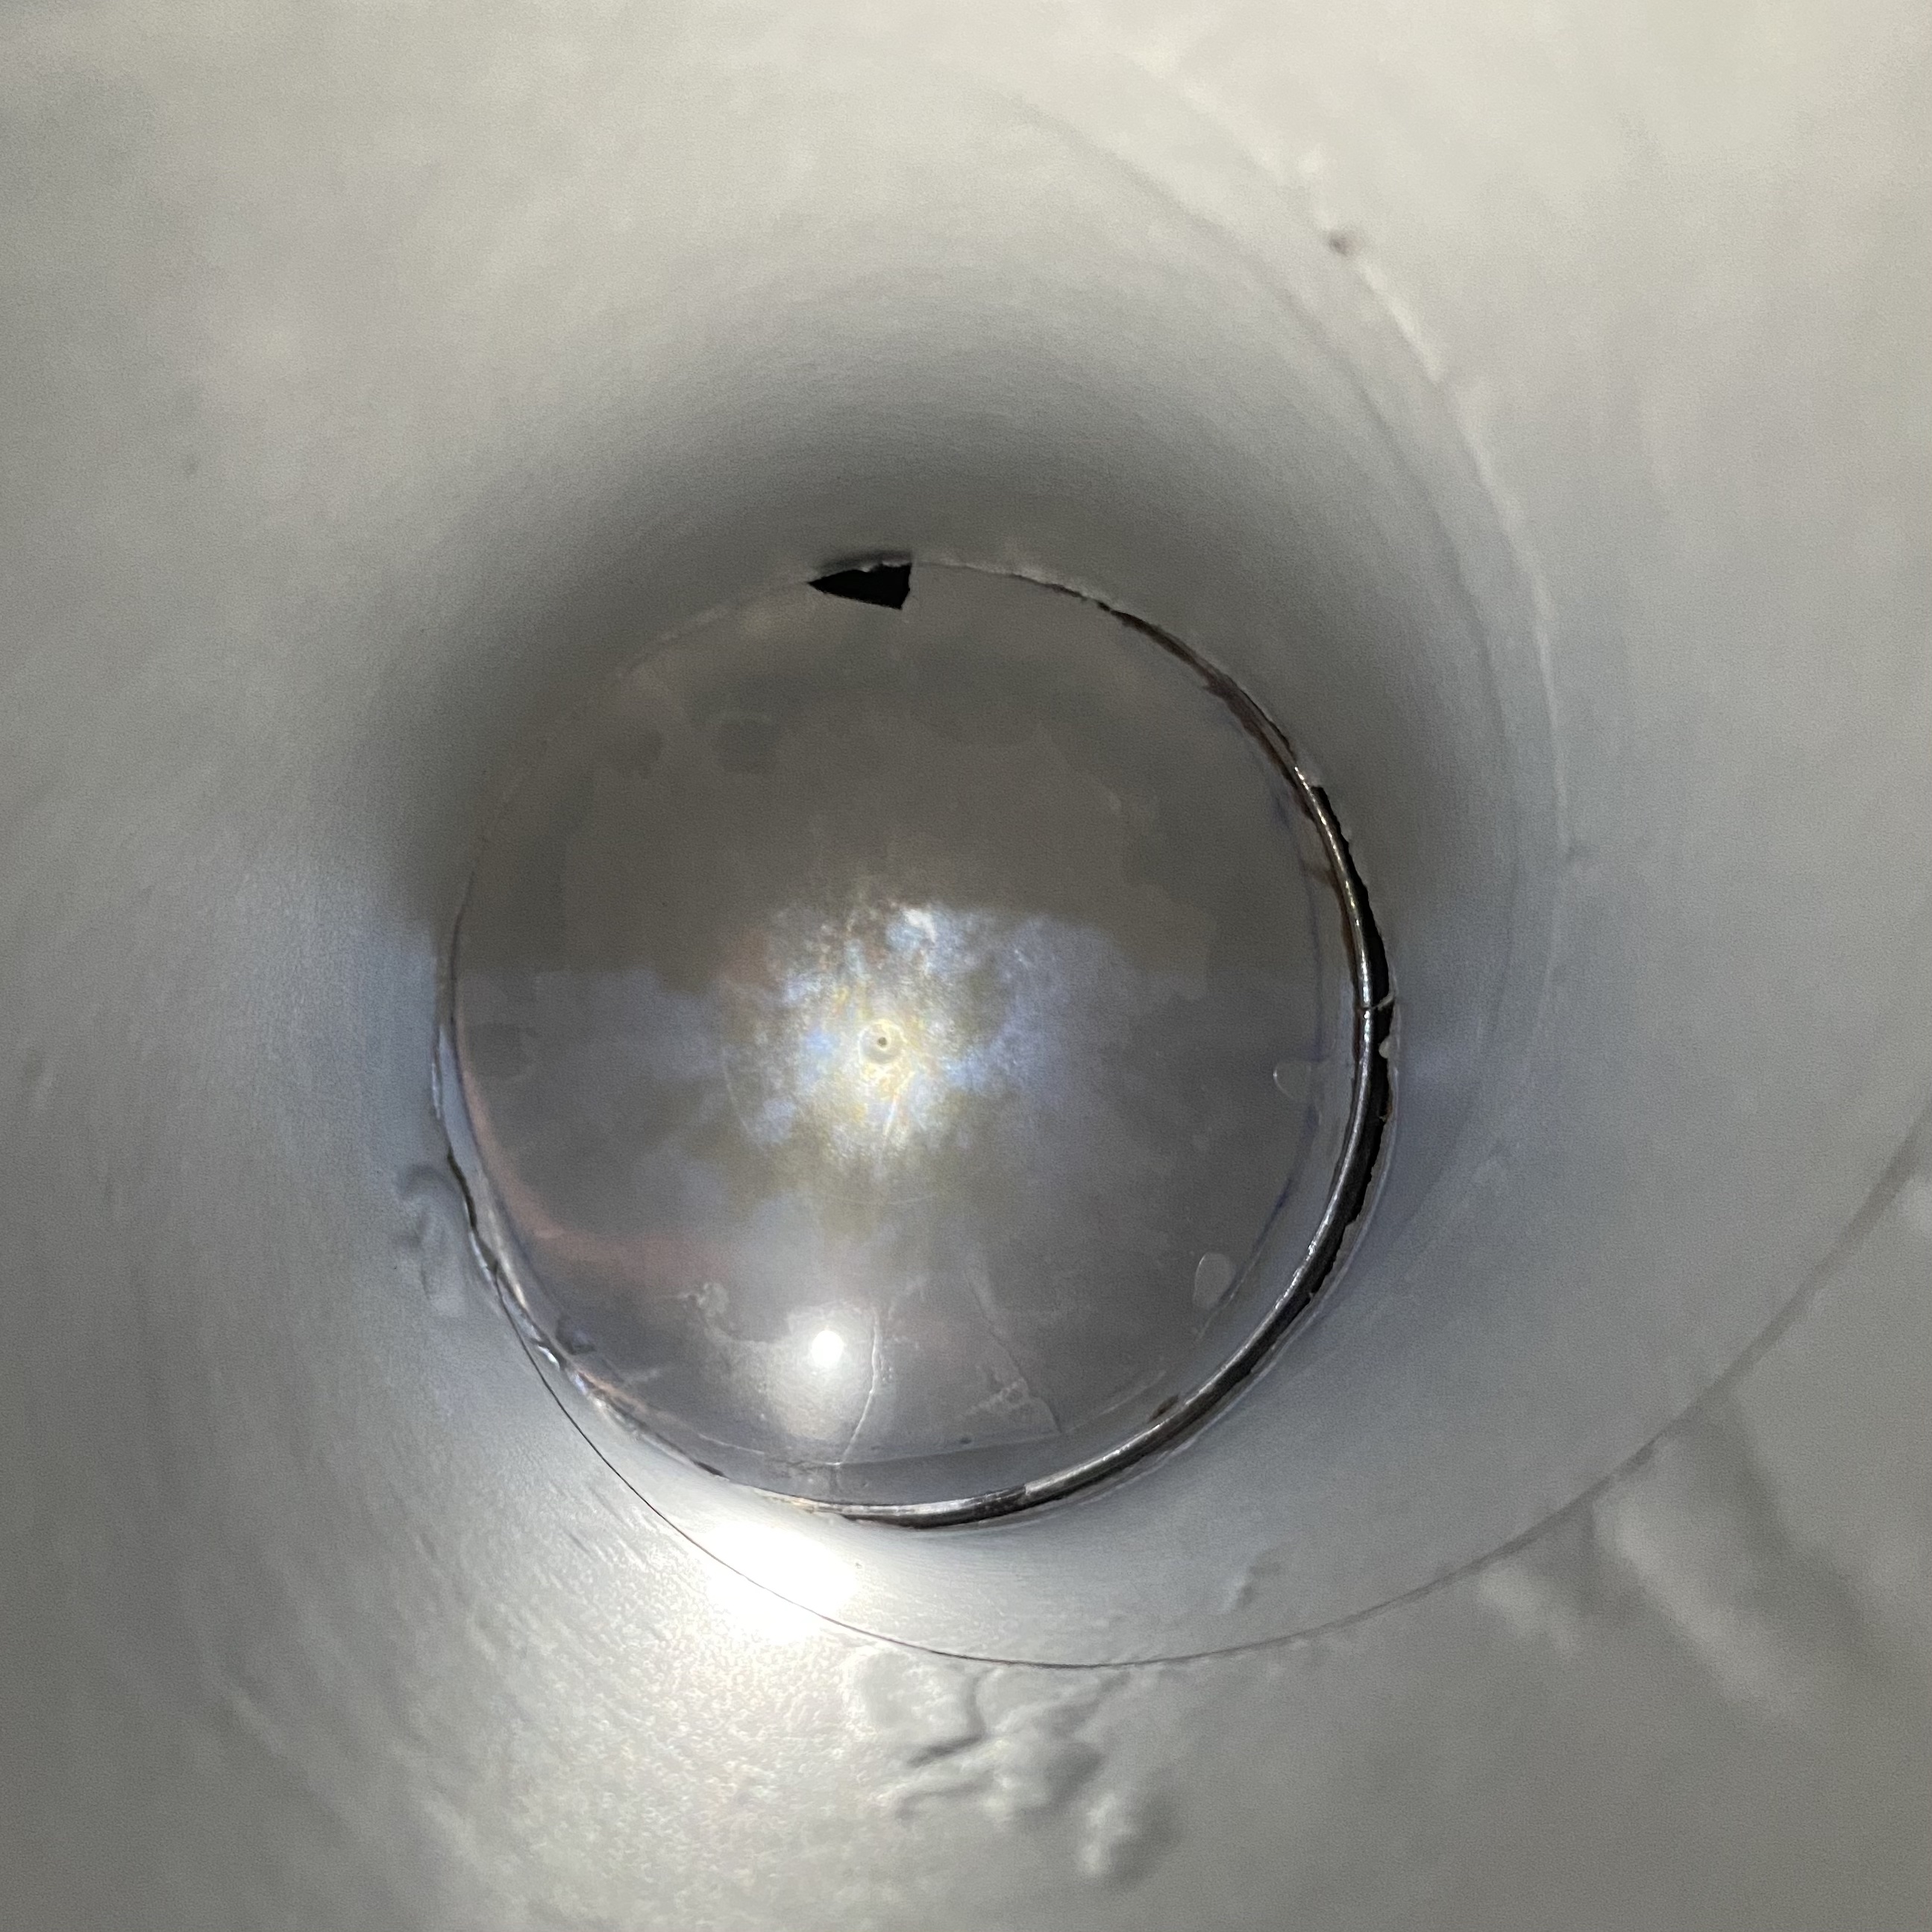
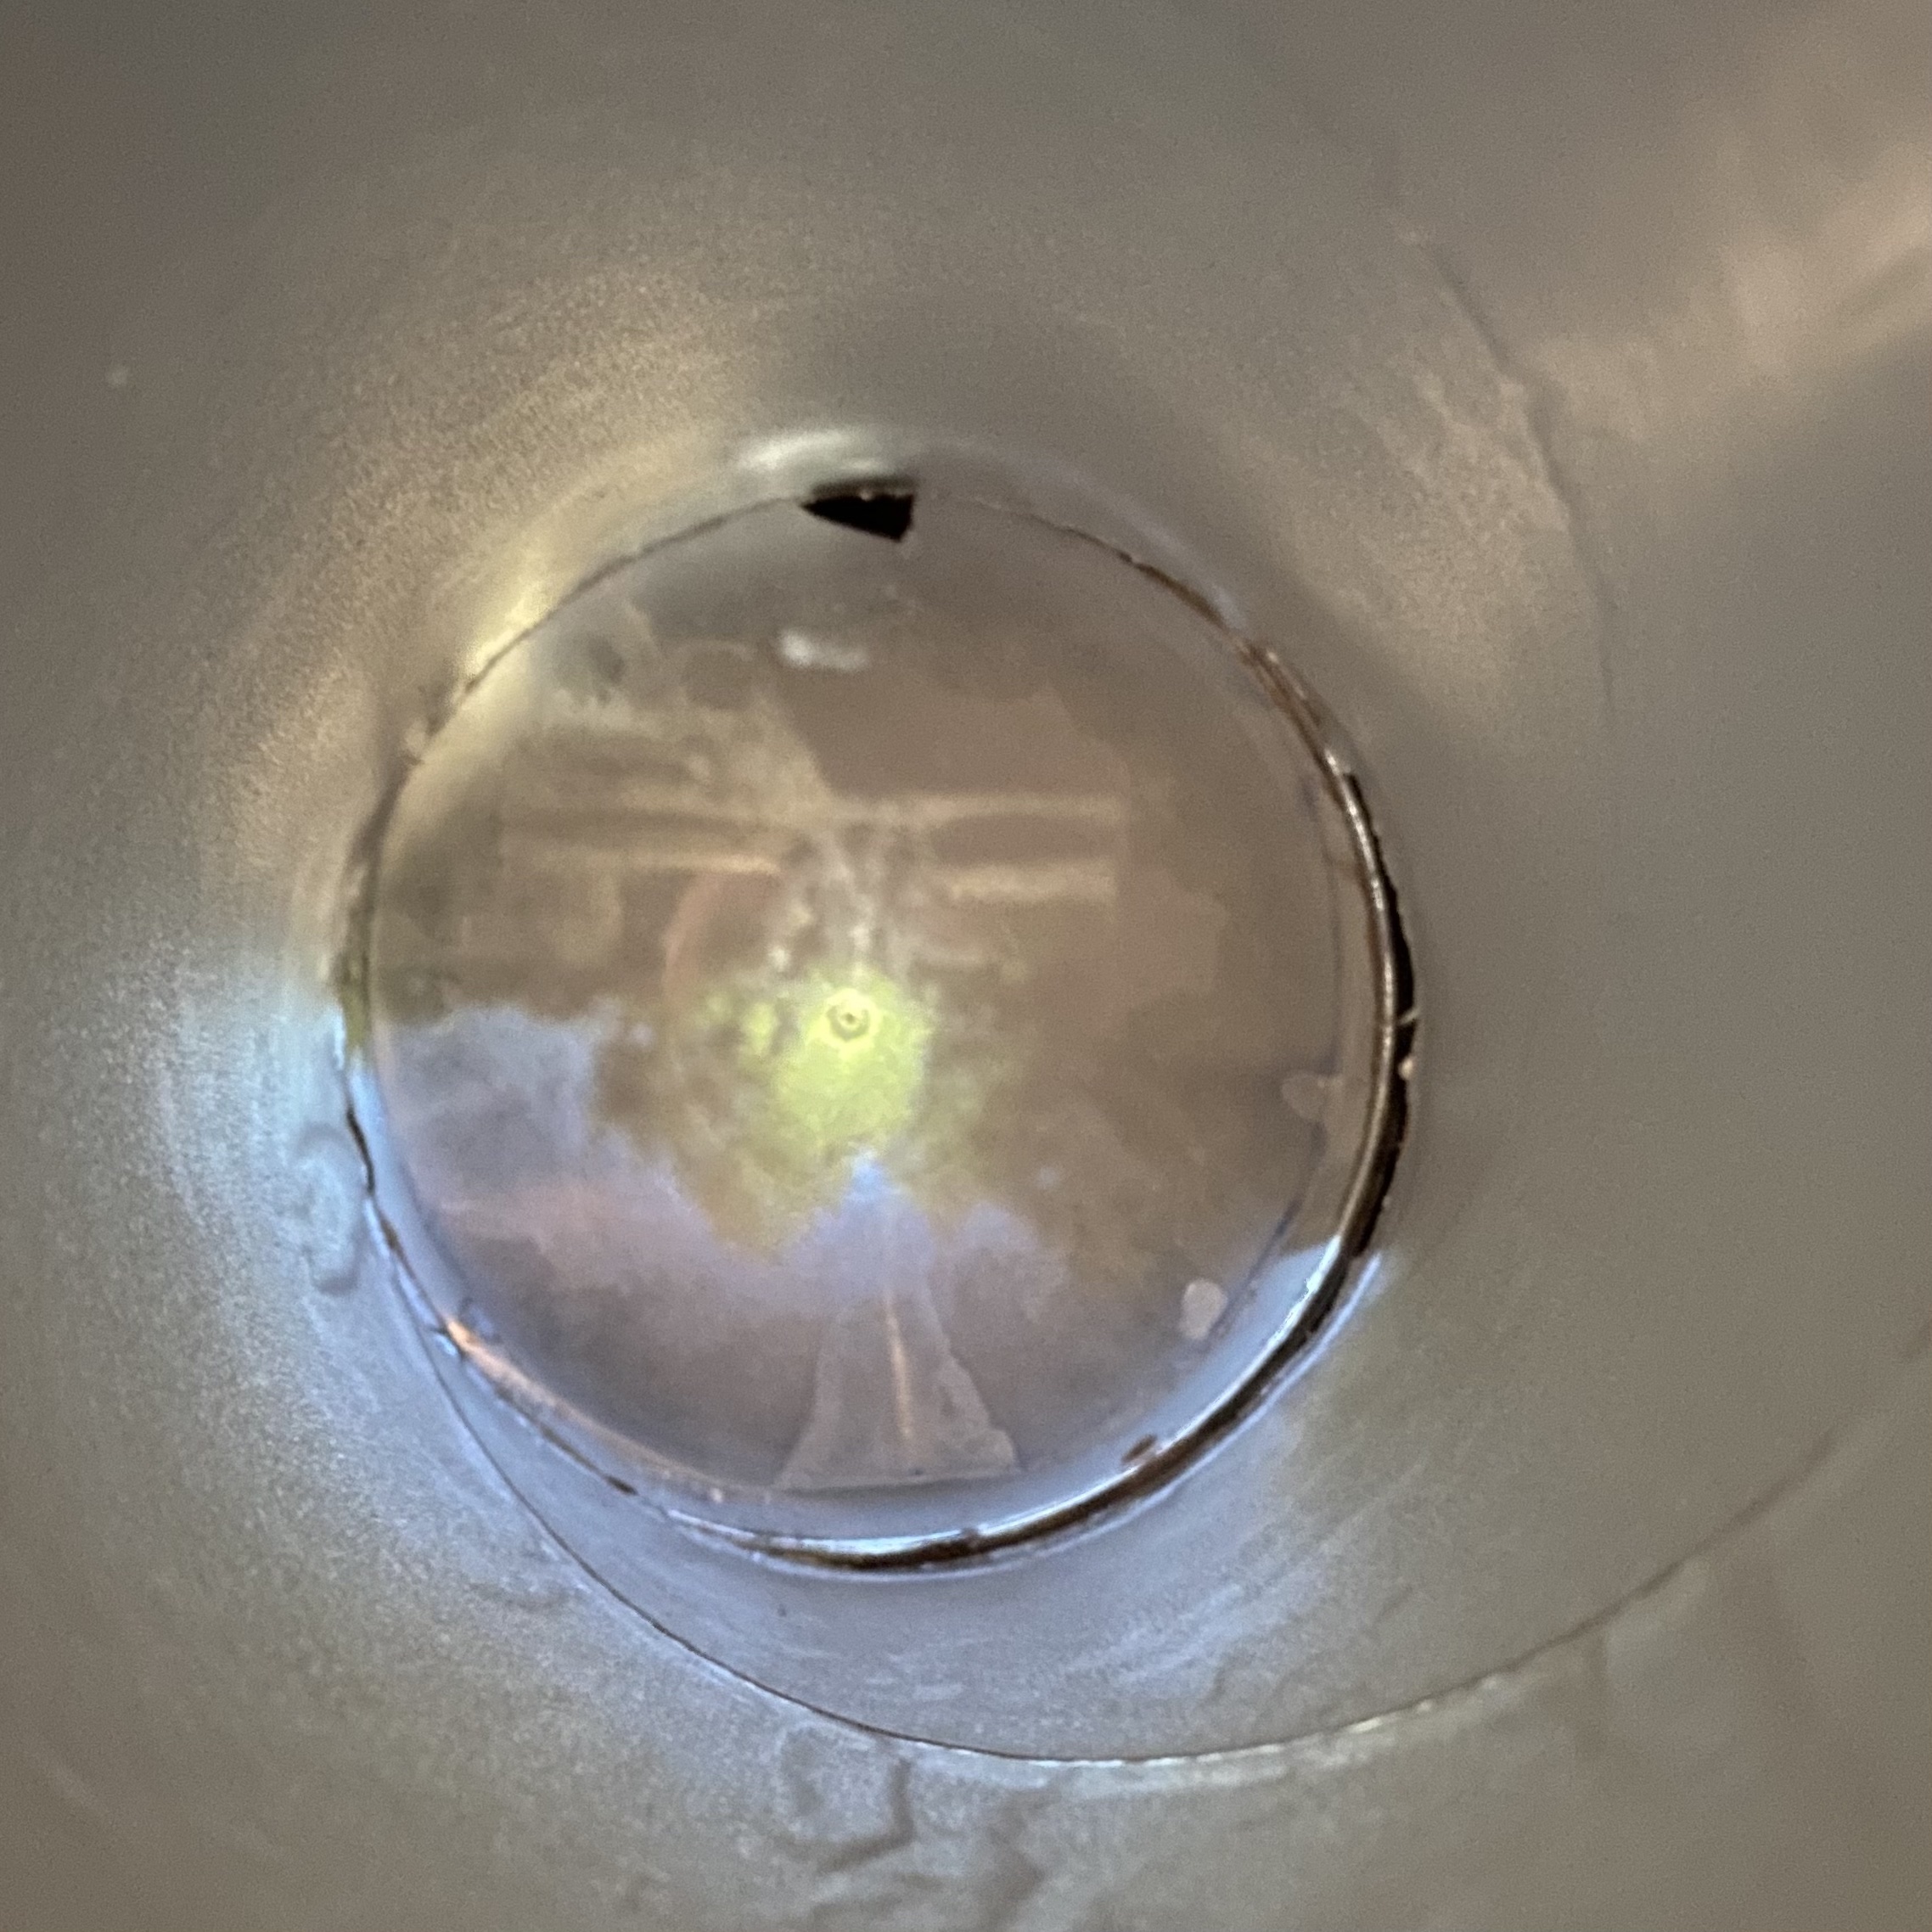
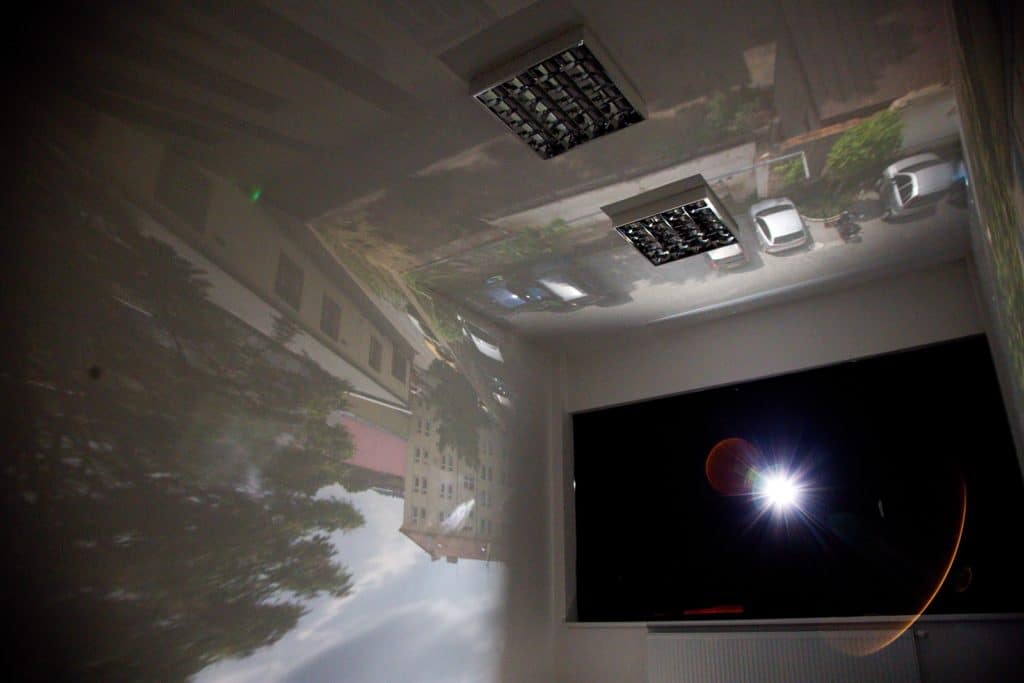
Once the camera was assembled, it was time to go outside and see how it works. I looked around my backyard to find the sunniest part. Once I had figured out where I wanted to look I looked through the pinhole. Since I wanted it to be as dark as possible I cupped my hands around the top of the pinhole to prevent any light from coming in. Before looking through the pinhole, I knew the picture would be upside down. However, when I looked through the pinhole camera, I was both surprised and happy that the picture was upside down. Since the picture was upside down, it meant that I had assembled the camera correctly. I found it fascinating how the light goes through the pinhole, which is how the picture is presented upside down on the screen, which in this case is the lid of the Pringles container. The first time I looked through the pinhole, the colors were not that vibrant. This was an additional setback I faced. In order to make my picture more vibrant, I got a flannel from my closet and put that over my head. Since the surroundings of the pinhole camera were even darling, the picture in the pinhole was more vibrant.
The final challenge was taking a photograph of what I was seeing through the pinhole camera that I had created. Since the Pringles container is circular, I struggled to take the photo with my phone. This was because when I put my camera through the circle of the Pringles opening, there was still light coming in. To solve this problem, I took the Pringles seal and took an Exacto knife to cut a circle into it. I used the Pringles seal because I already knew it would fit since it is used to seal the container before the customer opens it. Once I had a cutout, I attached that piece to the pinhole camera’s top or opening. This ensured while I was taking the picture, no extra light was coming into the pinhole camera. Once I solved this problem, I took a photo using the pinhole camera and captured my phone camera image. When I first looked through the pinhole camera, the colors were faded, but once I used the flannel to create a darker surrendering for the camera, the images produced were brighter. I used the same technique with the flannel while taking pictures from my phone.
Overall, this experience of creating a pinhole camera was very interesting. There were some hurdles that I had to overcome through the process, but overall it was a very good experience. I have also included an image of what the outside of my pinhole camera looks like. If I were to do this again, I would tamper with the directions in little ways to see if that would drastically affect the image, like the lid, which was the screen, be further away from the pinhole. In the directions, it says to have it to inches away from the pinhole, but I would like to try it maybe 3 inches away from the pinhole to see how it affects the image. However, when recreating the pinhole camera, I would still implement taping the seal to the opening with a hole in the Pringles seal, so you are looking through a smaller hole. Having a flannel or dark sheet for my head and top of the pinhole camera, to result in the darkest surroundings. This was a great experience and I am happy that I decided to create a pinhole. It is one thing to hear and see representations of how the pinhole camera works. But looking through a pinhole camera that you made yourself gives you a completely different perspective of how it worlds completely and gives you a greater appreciation for this type of camera.
-
1
2021-02-15T23:01:39+00:00
Ashley Konheim Essay 1
5
By Ashley Konheim
plain
2021-03-15T20:19:13+00:00
Photography was discovered on August 19, 1839, by Louis-Jacques-Mandé Daguerre. According to the textbook, Photography: a Cultural History, “photography was invented by individuals working independently from each other, in a relatively short period during the early years of the Industrial Revolution” (Marien 3). While there are many different types of photographic devices, there are only three different types of photographic devices that I decided to look at; a pinhole camera, a camera obscura, and a zoetrope. All three devices were important in the history of photography.
A pinhole camera is a very simple type of camera. It is made out of a light cylindrical container that has a pinhole that is used as a lens. The pinhole lens is at one end of the container and a light-sensitive film or piece of paper is on the other end. The purpose of pinhole cameras is to produce softtone, wide-angle pictures with minimal detail. To make a pinhole camera there are many steps that you have to go through. First, you need to gather all your materials before making this. The materials used to make a pinhole camera are, an empty Pringles chip can, a marker, a ruler, an X-Acto knife, a thumbtack or pushpin, masking tape, aluminum foil, scissors, and a nice clear day.
My process for making the pinhole camera was super easy. The only material I didn't have at my house was a Pringles can which was very easy to buy. After I got all my materials, I simply just followed the steps given. The difficulties I encountered while making this pinhole camera was that after cutting the Pringles can in half, I struggled to actually hold it back together. However, I used a ton of tape as well as aluminum foil to keep it secure.
A camera obscura is literally a darkroom, “the camera obscura was originally a darkened, room size chamber, in which a tiny opening in one hole acted like a lens, focusing an upside-down image of the scene outside onto the opposite wall” (Marien 6). Just like the room size chamber, there was also a smaller and portable version of a camera obscura. This had lenses on it and Amir inside so that the image shown on the mirror could be traced on paper. To make a camera obscura there are also many steps that you have to go through. The materials you would need before making this are a room with one window, 3 or more 28 inches by 22 inches black poster boards, a flashlight, a utility knife, and duct tape.After I got all my materials, I also just followed the steps given. My process for making the camera obscura was pretty easy, however, I had some difficulties that I encountered while creating it. One challenge that I had while making the camera obscura was that it was hard to make sure the black paper was secure on the window. Because it was hard to secure the paper onto the window, I used more tape then I was supposed to, even though in the picture above it doesn't look like it. Another difficulty that I had while creating this was that it was hard for me to find a room in my house that only had one window because many of the rooms in my house have more than one window. Other than those two difficulties creating the camera obscura was quite simple.
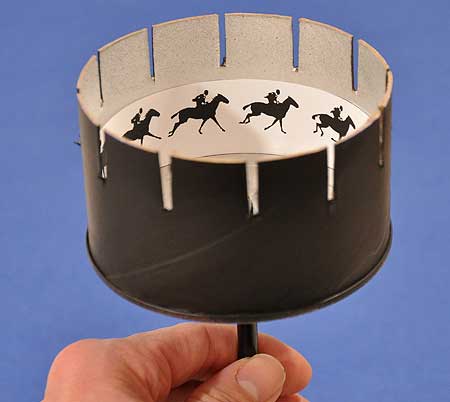
A zoetrope is an old version of a motion picture projector. It has a series of still images on the inner side that creates the illusion of motion when looked at. Just like the camera obscura and the pinhole camera, there are some materials you would have to get before making this zoetrope. The materials used for this are a coffee can lid, white paper 20 inches by 1 ½ inches, black paper 20 inches by 3inches, glue, a craft knife, a pencil, and a ruler.
Just like the camera obscura and the pinhole camera, after I got all my materials, I followed the steps given. There was only one difficulty that I encountered while making this, and it was that the black paper took a while to actually stick on to the coffee lid after I glued it down.
After I finished making all of these photographic devices, it was very interesting to see how they work. I tested them all out, and they all work really well even though they are homemade and not professional. Personally, for anybody who is interested in learning about some of the photographic devices in the history of photography, I would definitely recommend trying to make some of them at home.Marien, Mary Warner. Photography: a Cultural History. 4th ed. London: Laurence King Publishing ltd, 2014.